Where my Learning Project Started

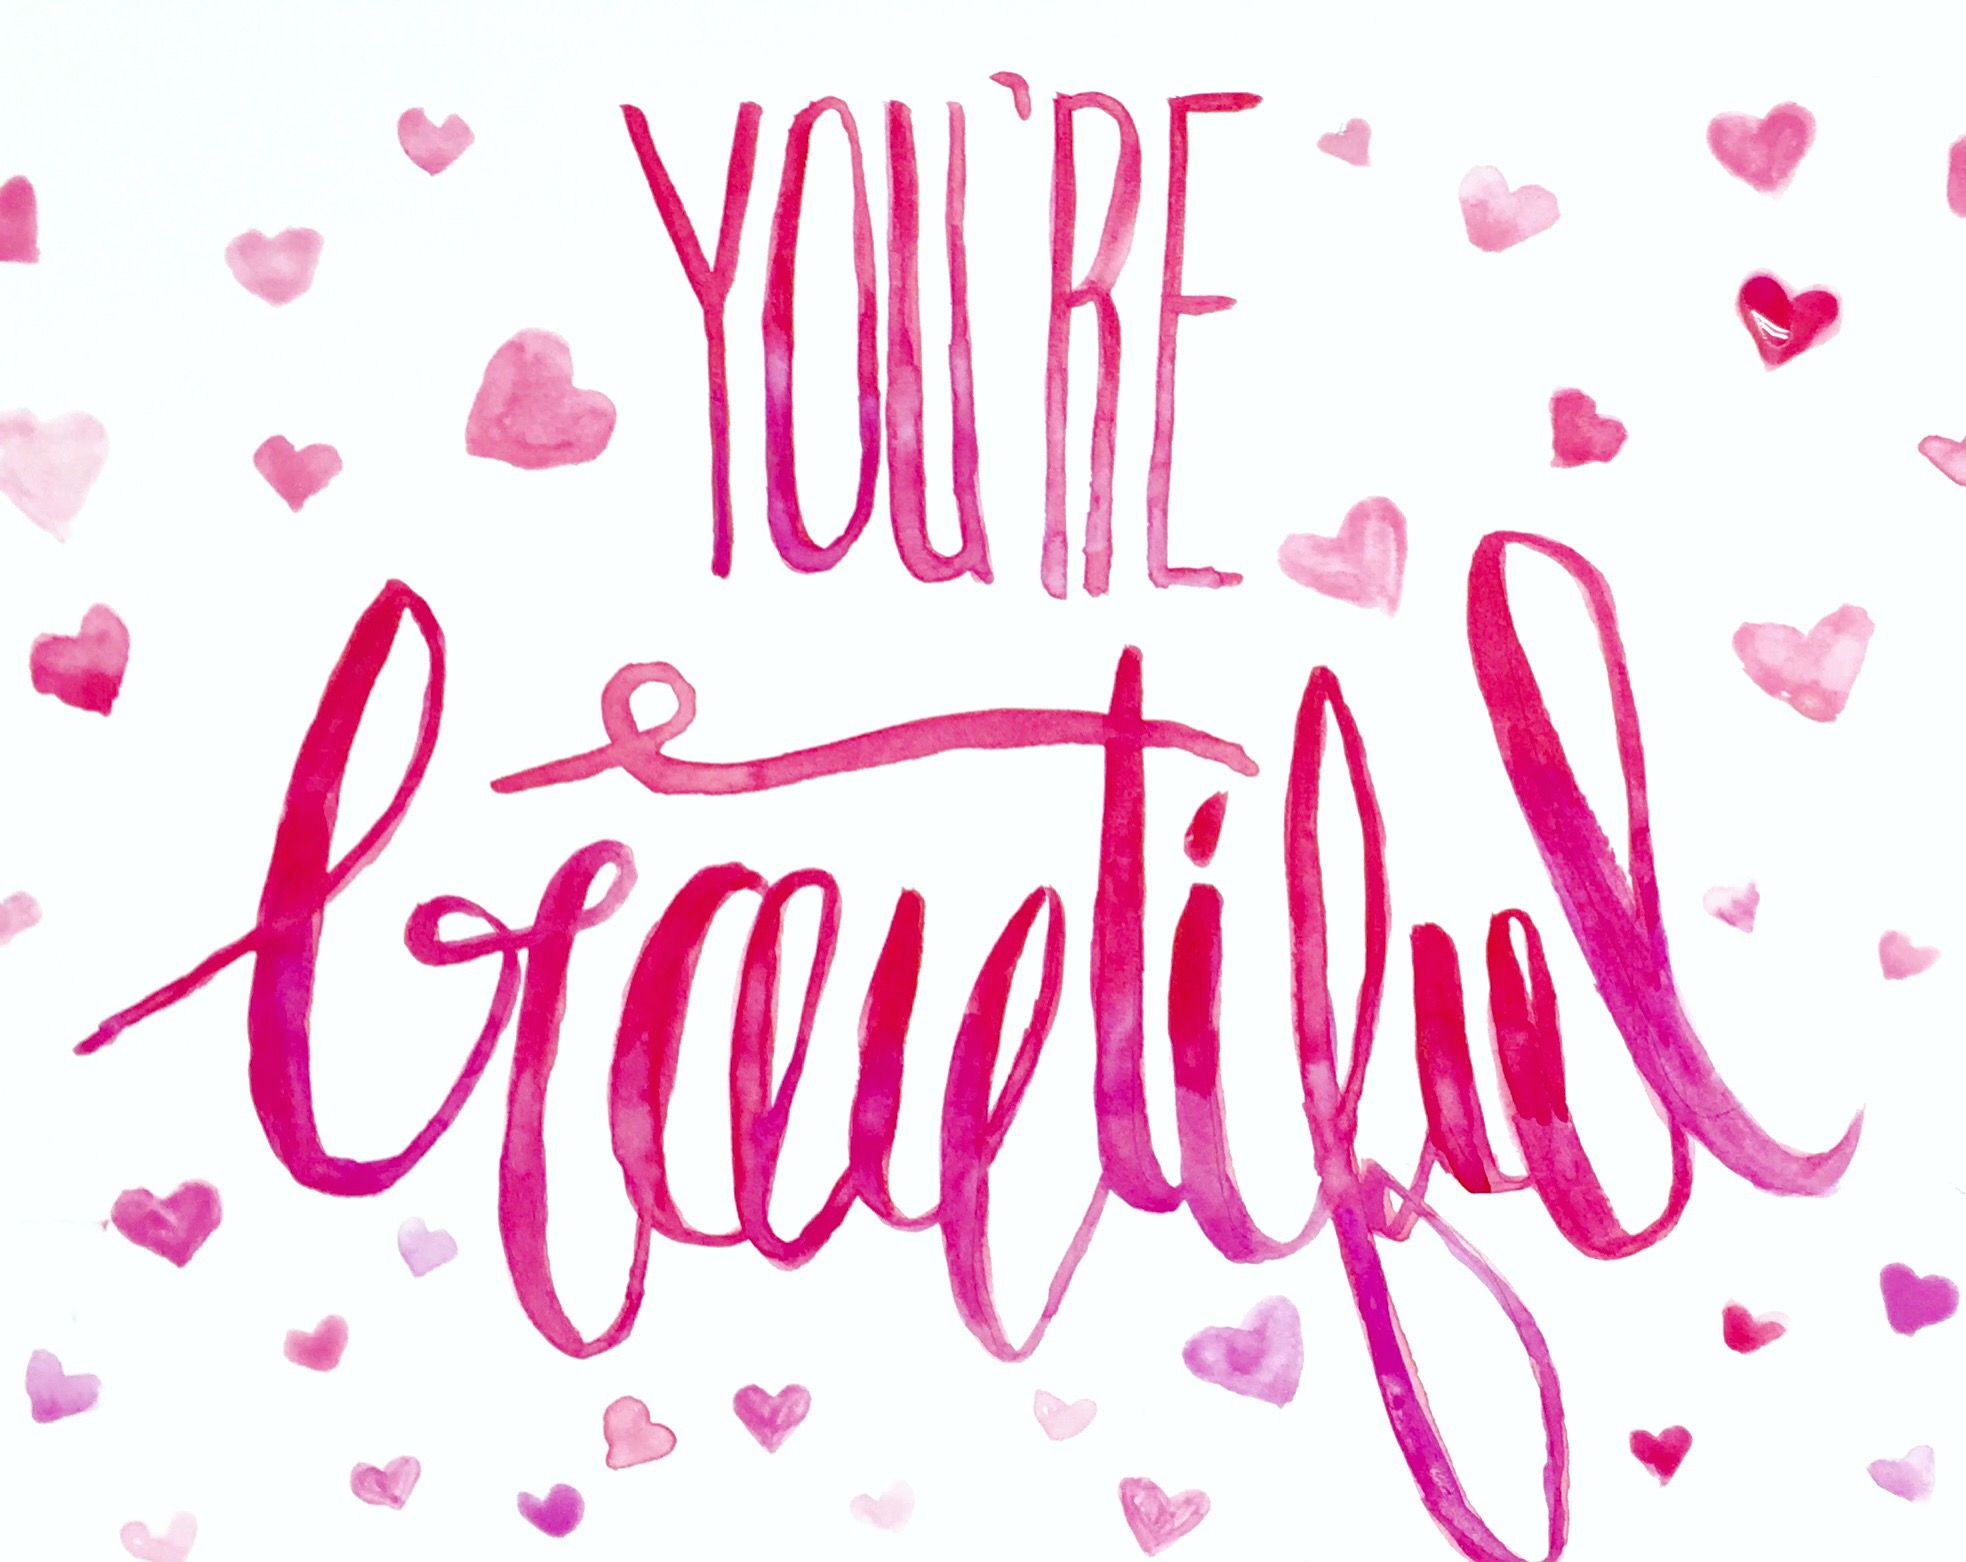
Here is a link to my very first post I made. I was very excited to embark on this learning journey as lettering is something I wanted to try and had never gotten around to it. I was curious how many other photographers made custom cards with beautiful digitized hand written script. When we received this assignment I immediately thought “Awesome” I will try hand lettering this is going to be great! What I didn’t think was that it was going to be that hard. I thought learning it would take some time but, was surprised at how long it has taken me to get a style I am somewhat happy with. Overall, this has been a great experience please, see my new learnings, struggles, and findings below.
Blogging
If we are being honest, I completely fell of the blogging wagon. I have a few posts but, fell behind after the start. I find I am often away from my computer and I believe that this was a factor in the amount of blogs I have posted. I found that I took time to work at my skills, find resources, practise and learn but, I rarely stopped to blog about it. Hand Lettering is definitely something I still enjoy and will continue using and evolving the skills I have learnt. I am actually going to turn an old inspirational blog into a creative blog in which I will add a lettering category. My blogging career is far from over and I find it accesses my love for sharing my knowledge with others.
Community
This project introduced me to an entirely new community of people. Using Instagram I searched the hashtags #brushlettering #handlettering and #calligraphy I was immediately lead to an abundance of hand letterers showcasing their talent and work on their Instagram profiles. I began following so many accounts that things were getting confusing for me. This lead me to creating my own Instagram lettering page @thehiddenwildflower. Creating this account let me filter all of my lettering inspiration to one place. This also opened the door for me to connect with other letterers and have them follow me.
Instagram is something I use for many of my creative ventures. It is the perfect tool for looking at examples of others work. Many letterers on Instagram would post helpful hints or tutorials. Often you could participate in lettering challenges that the majority of the Instagram lettering community would participate in. Suddenly, not just the people I knew were liking my post other hand letterers were liking them as well. Instagram was my main source of information, and my main motivator. Opening Instagram to see all of these great ideas and pieces of art made me want practise and build my skills more. No matter what creative art you are learning Instagram is a great resource. Simply do as I did, begin by searching hashtags, follow people, and then begin connecting and learning from them.
PEERS
A few of my fellow ECMP 355 classmates were also doing lettering or calligraphy, if you want to know the difference I have outlined it in my first post, What’s Another Passion. Though, the two techniques are different they can still support and inspire each other. The people in our class that I followed were Becca Bennet, Kaitlyn Schmidt, Megan Lane, & Stacey Baran. I had many of the same struggles as my peer such as, accessing quality supplies, and coping with difficulty of making something visually appealing. I often found myself refraining from blogging as I was not happy with the way my art looked.
Resources
ONLINE
Finding resources & inspiration was quite easy. I found many blogs, instagrammers, pinners, and youtubers dedicated to handlettering and teaching others.
Here is a list of my favourites:
- @thepigeonletters
- @lettersbyshells
- @leslie.writes.it.all
- Teela Cunningham
- Lyssy Creates
- Dawn Nicole Designs
IN PRINT
 I realize that this was an online learning process but, one of my favourite Instagrammers @thepigeonletters had an affordable
Brush lettering guide for sale and I wanted to try it. This was a great investment as it allowed me to simply practise correctly with worksheets etc. It was also awesome to follow this artist on Instagram as well as the #ultimatebrushletteringguide to see how others were doing with the book.
What I Learned About Myself
- I may be a creative perfectionist…
- To accept that I am not a natural at all things creative..
- Lettering is hard and needs a lot of practise
- If you practise alot, you WILL get better!
- Lettering is an extremely satisfying portable craft that works to fulfill my creative needs
- I love lettering, and incorporating it into all other things that I enjoy to craft (signs, photography, home decor)
- Blogging consistently is hard
What I Learned About Lettering
- Lettering is not only text you can add flourishes, and artwork to enhance the words.


- Downstrokes are thick & upstrokes are thin.

- It can be digitized using photoshop & integrated into photobooks.


- There are many tricks & techniques to change the look of your lettering.


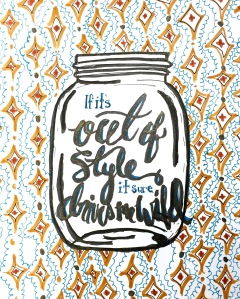
- You can letter on things other than just paper! This is something I enjoyed doing the most. I have created my own signs before but, often used stencils as I was never satisfied with my lettering skills. So glad for this new learning here is what I made to wrap up my Learning Project!


Final Thoughts
This project has been fantastic. I often find myself overworked and deprived of creative experiences so be able to engage in this creative process all semester was a gift. I truly noticed a positive shift in my stress level this semester. This reminded me how important choice is in the classroom. What a cool computers assignment this could be. Have students show, document and find learning on the computer! This is something I will never stop doing I thoroughly enjoy this skills versatility and portability and would suggest it to anyone.
Lastly, here is a video of me doing what I love!
Thanks for following my journey!